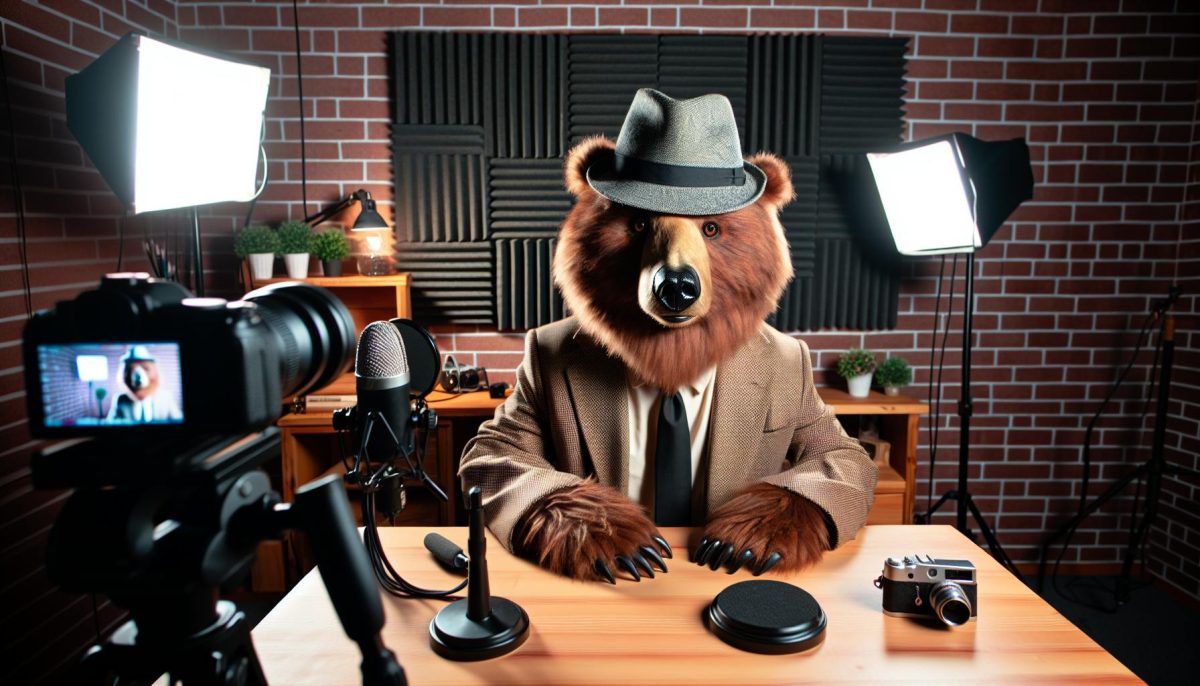
“I love your camera setup and studio! You must do a lot of video!”
It’s always nice to get compliments like that whenever I join a meeting. While it’s true I do a lot of recorded and live video production, I also use the same video studio setup for meetings with co-workers, colleagues, and potential partners, resulting in a much higher production value coming through than most expect in a Google Meet or Zoom call.
That’s partly by design – I always want to show up looking my best and representing Agorapulse or my own brand as well as possible – and partly by convenience. I’ve designed my video studio setup so that with just a couple words spoken to Alexa, I can immediately Show Up on camera looking and sounding professional.
But it didn’t start out this way, Mike.
I’ve been live streaming since the days of Google+ Hangouts On Air in 2011-12, back when I was broadcasting from my old loft. Years later, when we were transitioning homes, my “video studio” was in a dark corner of my in-law’s basement with a poorly placed window behind me.
In the years since, I’ve put together a home office that not only has the right equipment, but also the right arrangement of desk, decor, and displays to make the situation highly functional, without breaking the bank. I thought it time I shared some of that with you since, whether you’re a creator, influencer, agency or B2B marketer, being on camera and delivering outstanding audio and video content is no longer optional. I’ll share Amazon links for convenience but if you have a local source for some of this gear, by all means support them.
It Starts With Lighting
While it’s true that in most of your communication, your audio will be your most important element – people will tolerate sub-par video as long as they can clearly understand you – that sentiment doesn’t apply hear. Of course your studio is going to have great, yet inexpensive, audio, so that’s not a real concern here.
Instead, we want to start by thinking about your lightning and, specifically what natural and built-in lighting you have available already in the space you’re using. If you’re blessed to enjoy large windows with great Southern California sun streaming in most days, leverage those! Make sure that you will be facing those windows and that your camera will face away from them, which may be re-arranging your desk and room a bit. Do not put bright windows or other sources of light behind you.
The key is to make sure that the brightest and strongest sources of light in your space are behind the camera, directed toward you.
This also means that, most of the time, overhead lights will neither be sufficient nor flattering. Personally, I never turn on my overhead light and in fact, when I replaced the light with a fan, I left the bulbs loose and unscrewed so they’re just for show. That kind of overhead light just makes my head shine (more) lol.
But even the greatest natural light source can fall prey to clouds or after hours darkness, or perhaps you’re like me and have just one window that gets very little sunlight most days. Which means we need to invest in artificial light that can be directed.
This is where I’m going to contradict a lot of the mainstream advice that talks about ring lights and other LED lights – I find these too often are not complimentary in how they illuminate us either. Powerful white light might be great for applying makeup, but it’s not flattering on video.
Instead, I recommend a diffused light source – a light bulb that has a soft material the light shines through. A lamp and lampshade is an example you would have in your home already, but for our purposes you’re going to want something stronger than a 60W bulb and Home Goods lamp.
I like a cowboy light kit for a number of reasons – these are the bulbs and umbrellas you’ve likely seen at photo shoots that are mounted on extendable tripods. You can adjust the height of the light source as well as the positioning, and even collapse or expand the umbrella to further control the light. They’re also easily transportable for events and other offsite video needs.
Most kits come with three units. Two are designed to be placed behind the camera, toward you and your face, while the third is designed to be placed behind you to illuminate the space behind you and eliminate shadows. For my purposes, a single cowboy light stand placed just behind and to the left of the camera is all the light I need.
You’ll also need a strong bulb. I’m using a 5500K bulb that generates all the light that I need, even when it’s completely dark outside.
We’ll talk more in a moment about backgrounds but one thing I’ll stress is that your background is very important and not an element to be overlooked. If you want your video feed to look mine or even more polished YouTubers, the commonly missed upgrade is background lighting and depth. You will have to have structure and items in your background, and lighting that has been incorporated into that background such as LED strips, uplights or pocket lights. I use a simple, inexpensive LED strip that can color change according to your aesthetic.
That’s just $90.97 invested in lighting that you won’t have to think about, change or upgrade for years once you’ve set it up.

The Most Expensive Element: The Camera & Lens
There’s no doubt that investing in a great camera and lens can have a huge impact on how you look and come across on video. Having a leans that can focus on your face and apply a modicum of blur to your background, particularly if you have LED or string lights, can create a charming and professional-grade bokah effect that’s unmatched.
I happen to be using a Sony a6400 with a Sigma 50mm lens that looks great and is basically set up as a permanent webcam. It’s mounted on a tripod behind my desk to that the lens is just above and behind the center of my monitor, tilted down toward my face. This has the added benefit of allowing me to look at video windows (e.g. Zoom meetings) small and centered at the top of my monitor and give the appearance I’m looking directly into the camera, maintaining eye contact. In order to use this camera as a webcam, meaning my computer and all of my apps see the camera and allow me to select it, it plugs into an adapter by CamLink which, in turn, plugs into my Mac Studio.
Can you get by with a less expensive camera? Absolutely! The Logitech Brio 4K is the best pure webcam on the market and is still affordable at under $175. It’s easy to set up and use, and easily travels. Note thought that smaller, less expensive cameras like webcams won’t have as powerful a lens so not only will they not be capable of the kind of depth of field I get with a Sigma, they will also require more light. If I was using a webcam I’d likely need both of my cowboy light stands set up and on to have sufficient light not to look grainy.
And that’s a powerful tip for you: if your video doesn’t look as sharp as you think it should, you likely need more light behind the camera, focused on your face. Or perhaps less light behind you.
So while you can start with spending under $200 for a solid webcam, you will eventually want to invest over $1800 for a great camera setup. This, too, is an investment you’ll use for many years.

Make Sure You Sound Great
Here’s the fun part. Because not only do we want to select a microphone that captures your voice perfectly, it’s also an element of your video presence that is likely to be part of every video. No one can see your camera, but they can definitely see your microphone. So it’s worth thinking about how it looks and where you’ll place it.
For years I used an Audio-Technica microphone that used the musician-grade XLR cable to go through a Behringer mixer, then into my computer system. It sounded amazing for years until the mixer died. I then upgraded to a Rode Podmic and Rode mixer that, truth be told, I don’t think sounds quite as good as the old setup but it does sound great so I’m sticking with it for now. I do like how the Rode Podmic looks on camera – it’s a beefy mic that has that traditional grillwork that I think looks cool. And it’s on a swivel arm so I can easily adjust the position or swing it out of the way when I’m not on camera.
And that’s the key. You need to invest in a microphone and arm so that the micr can be placed close to your mouth and capture your voice perfectly.
You also absolutely must use headphones of some kind whenever there are other people participating in your stream or recording so that their voices aren’t played through your normal speakers and then accidentally captured by your microphone. Some mics are great at eliminating speaker output, but even the best mics can have faulty moments and the feedback that can result can be devastating – and usually happens at the worst possible time.
The good news is, you don’t have to invest a lot and you don’t have to use big, bulky headphones if you don’t want to. Any wired headphones will work fine since your own audio doesn’t have been HiFi, just be sure that your system knows to use your good mic and not the mic built into the headphones if they have one. Or, alternatively, I recommend an inexpensive bluetooth earbud that sits on my desk and recharges when not in use. When it’s game time, I can hear my guests or meeting participants perfectly in my ear, without cables dangling from my face.
If you don’t want to drop $400 on your audio, at least invest in a great USB microphone and the wireless headset. The ATR2100 is still a great, affordable choice at under $50.

Behind The Curtain
When the pandemic hit and everyone was forced to go on camera, everyone’s sheets suddenly were recruited to double as studio backdrops. And when no one had time to design and build something, that was fine. Today, however, expectations are higher. And the opportunities are greater!
Yes, many of today’s meeting and virtual stage software includes virtual and blurred backgrounds, but those never look perfect and can even give a vibe of laziness. They also don’t do anything to support our personal or professional brands.
Not only does my background and other top YouTuber’s backgrounds look great, they help tell a story and reinforce deliberate aspects of our brands.
From book and product placement, to color and logo reinforcement, you should consider and design your background as an opportunity for visual branding.
Shelves are perfect for this as they not only make placement of items – and lighting – easy, they create some depth even if your actual room and available space is not large. On my shelves you’ll find Agorapulse swag, social network pillows and logos, placement of my book, “Ultimate Guide to Social Media Marketing”, and even references to personal brand elements like Star Wars. And interwoven through it all are those LED strip lights programmed to whatever color I prefer. My shelves were also selected because the hue of wood and the cyberpunk-esque pipes coordinate with the rest of my office furniture.
Additionally, we painted the walls of my office and selected a nice grey that helps make the room feel bright, but not too bright and reflective. A simple can of paint can do amazing things to brighten a space, add a pop of color, or even darken a wall and create an air of sophistication.
Don’t overlook this step.
You could easily spend just a few hundred dollars on shelves, decor, and paint, and have a terrific and on-brand background for all of your video. All it takes is a little creativity and a weekend to pull it all together.
The end result is being able to easily create great-looking video content. Here are some short examples.
What You See
There’s one final, crucial element to building your home studio: what you see and use to make all of this work! For that there are a few recommendations.
First, in addition to your laptop or computer with monitor, I strongly recommend that you have a second monitor. This is so incredibly useful, particularly when you’re giving a presentation and want to push the presentation into full screen, present mode. I run my decks on my second screen which gives me full visibility to Zoom or whatever platform I’m presenting in.
Second, it is essential for good video that you have a hardwired connection to your source of Internet. I always recommend that people have their Internet installed wherever their office is so that it’s easy to run a Cat5 cable from their computer to their router, and not rely on WiFi. The rest of the house will run just fine on WiFi.
The tools that I use for recording and streaming video most often are Ecamm and Streamyard. Ecamm is specifically for Mac and allows me to easily record my video and is therefore what I use to create all of my own videos. I can build scenes and run all kinds of sequences if I wish. While Ecamm does support a video studio that can be used to stream to social networks and invite guests, I prefer the ease of Streamyard’s studio for that purpose. Since that studio is internet-based, with local recordings, even if one of us on the feed is struggling with bandwidth, it won’t impact everyone else or the recording.
While there are physical teleprompters you can purchase that attach to your camera and display text or notes, I simply use Evernote for that purpose. I’ll put my script or outline or run of show into an Evernote doc, make it narrow and positioned at the top of my screen, and can refer to that throughout a video while still keeping my eyes facing forward into the camera.
And one final note… I mentioned at the outset that I just say a couple words out loud for my entire system to come online and be ready to stream. I have an Alexa Echo Dot in my office (that’s otherwise muted and prevented from making announcement that might interrupt a broadcast). It’s been re-named “Computer” so it won’t be triggered if we talk about Alexa on a meeting or feed. And there’s a simple routine programmed so that whenever I say, “Computer, go live” it turns on my camera, lights, and turns off my FireTV. To complete that set up, I simple have my camera and lights plugged into Smart Plugs that Alexa can control. For each device or item you want to control, set up the plug, plug that item in, and name the plug accordingly, e.g. “Camera.” Setting up the routine in the Alexa app is easy. When I finish a call or presentation, I simply say, “Computer, work mode” and it turns off my camera and lights, turns the FireTV on, and plays Star Wars music on Amazon Music.
Related Resourcs for SMB Owners & Marketers
